How to Make Fresh and Flavorful 10 Minute Pico de Gallo
The Ultimate Mexican Salsa:
Growing up in Phoenix, Arizona, pico de gallo was everywhere. In the Southwest, we love Mexican food. I used to buy it from my Favorite Mexican food restaurant Valle Luna, by the pint.
GAME CHANGER
Pico de gallo is a classic Mexican salsa.
It’s also known as salsa fresca or salsa cruda, which means fresh or raw salsa.
It’s a delicious and healthy dip for tortilla chips, or a topping for tacos, burritos, nachos, and more.
In this post, I’ll show you how to make authentic pico de gallo at home with simple ingredients and tips.
What is the best way to make Pico de gallo?
I have people ask me if they can use a blender to make pico de gallo, and I always said NO. But for the sake of science.
I tested making pico de gallo three ways:
1. Traditional hand-cut with a knife
2. Hand Pull String Manual Food Mixer, and
3. A stick blender.
Who will be the winner?
1. Traditional hand-cut Pico De Gallo

I have always used a knife to make pico de gallo, as it gives you control on having even sized bits in your salsa. It does take a few minutes, but only, a few minutes.
Mix everything up in a bowl and tada – let it chill in the fridge and the flavorus marrty and your done

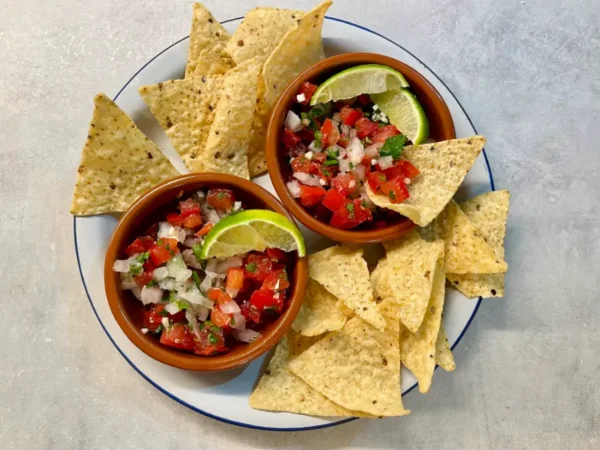
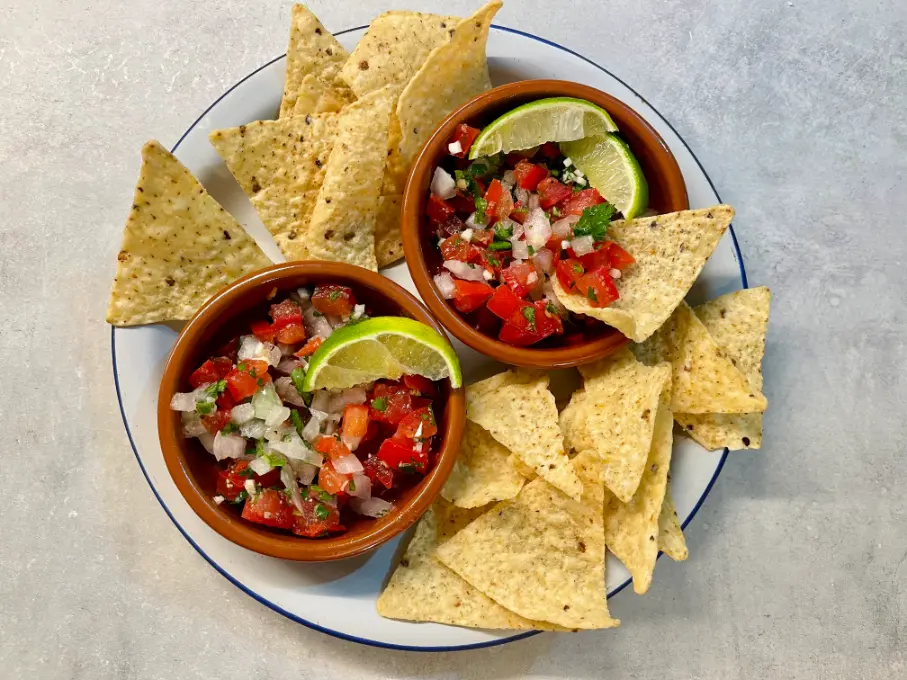
As seen below: The Perfect Pico De Gallo

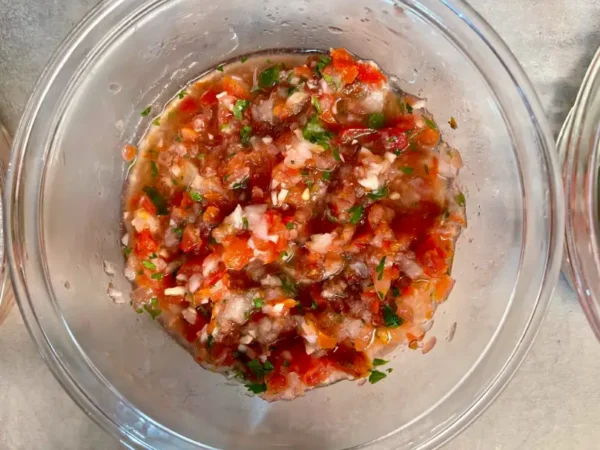
2. Pull-String Manual Food Mixer Pico De Gallo

I had my doubts about using both the pull-string mixer, and the stick blender attachment.
In the past I remembered that the pull-string mixer has trouble cutting chilies, so I cut it in half to get it started, also rough cut the onions. I should have also cut the tomatoes as well. I gave it about 4-5 good yanks and you can see.


The blades just macerated the tomatoes, and you can see the puddle of liquid at the bottom.
It tasted good, but it was so watery if you put this on a taco, your tortilla would just fall apart, it would work ok for chips and dip, but definitely far from ideal.
Pull-String Pico De Gallo: Final product
It turned into a mushy, liquidy mess. Tasted ok, but I would not recommend this tool to make pico de gallo.
3. Stick blender pico de gallo

I must note, I did not use the stick blender itself, but the mixing bowl that came with it. It is very similar to the pull-string mixer in terms of shape, size, and blades, but it has a lot more power. I thought it was going to pulverize everything
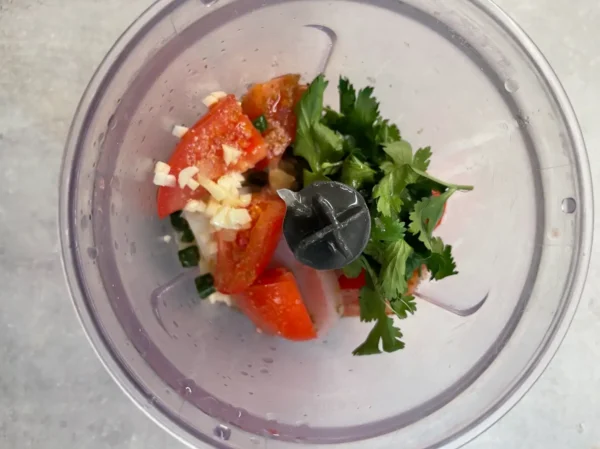

This came out better than I expected. It has some chunks, but it still has too much liquid.
I think hand-chopped is the best, but the stick blender had enough power to slice the vegetable without macerating them.
If I was in a hurry, I would consider using the stick blender.

Pico De Gallo 3 ways: Conclusion
From Left to Right:
Hand Cut: Classic style for the win!
String-Pull Mixer: Fail. Mush
Stick Blender: Not as good as hand-cut, but ok if you are pressed for time.

Pico de Gallo Ingredients:
You’ll need the following ingredients:
- Roma tomatoes (also called plum tomatoes), diced finely
- White onion, finely diced
- Cilantro, finely chopped
- Jalapeño pepper (or Serrano pepper for more heat), minced
- Lime, juiced
- Garlic, pressed or diced finely
- Salt and black pepper
- Cumin
- Cayenne pepper or crushed red pepper
That’s it! You don’t need any fancy equipment or cooking skills to make this salsa. Just a cutting board, a knife, a bowl, and a spoon.
How to Make Pico de Gallo:
Follow these easy steps to make your pico de gallo:
- In a large bowl, toss together the diced tomatoes, onion, cilantro, and jalapeño.
- Drizzle the lime juice over the mixture and sprinkle with salt. Stir well to combine.
- Taste and adjust the seasoning if needed. You can add more lime juice, salt, or pepper to your liking.
- You can enjoy it right away, but it will taste much better if you refrigerate it for a few hours to let the flavors marry.

Tips and Tricks to making Pico de gallo:
Here are some tips and tricks to make your pico de gallo even better:
- Upgrade your tortilla chips!
- Choose ripe and firm tomatoes that are red and juicy. Avoid mushy or green tomatoes that are not flavorful.
- Use a sharp knife to dice the ingredients into small and uniform pieces. This will help the salsa look more appetizing and easier to scoop.
- Remove the seeds and ribs from the jalapeño pepper if you don’t want it too spicy. You can also wear gloves or use a plastic bag to protect your hands from the pepper’s oils.
- Use fresh lime juice instead of bottled for the best flavor. You can also zest some of the lime peel for extra zing.
- Use fresh cilantro and chop it finely. If you don’t like cilantro, you can leave it out or substitute with parsley.
- Store the pico de gallo in an airtight container in the fridge for up to 3 days. The salsa will release some juice as it sits, so you can drain it before serving if you prefer.
Why Pico de gallo works
Pico de gallo is:
- Fresh and flavorful
- Easy and quick to make with simple ingredients
- Versatile and adaptable to your taste preferences
- Healthy and low-calorie with no added sugar or oil
- Perfect for snacking or adding to your favorite Mexican dishes
I hope you enjoyed this food blog about pico de gallo. If you try this recipe, let me know how it turned out in the comments below. And don’t forget to share this post with your friends who love salsa! 😋
Frank’s Favorite Tools
PICO DE GALLO: THE ULTIMATE MEXICAN SALSA
Ingredients
Method
- Chop the tomatoes, onion, jalapeño pepper and cilantro and put them in a medium bowl.
- Add the lime juice and season with salt, pepper, cayenne, and cumin. Use 1/2 tsp of salt, 1/8 tsp of pepper, and adjust the amounts of the other spices as you like. Taste the mixture and make any changes if needed.
- Let the mixture chill in the fridge for a minimum of 1 hour, or better yet, overnight. This allows the flavors to blend and intensify.













Tastes like the salsa at Mexican foof restaurants!!! Yum
This was so easy to make